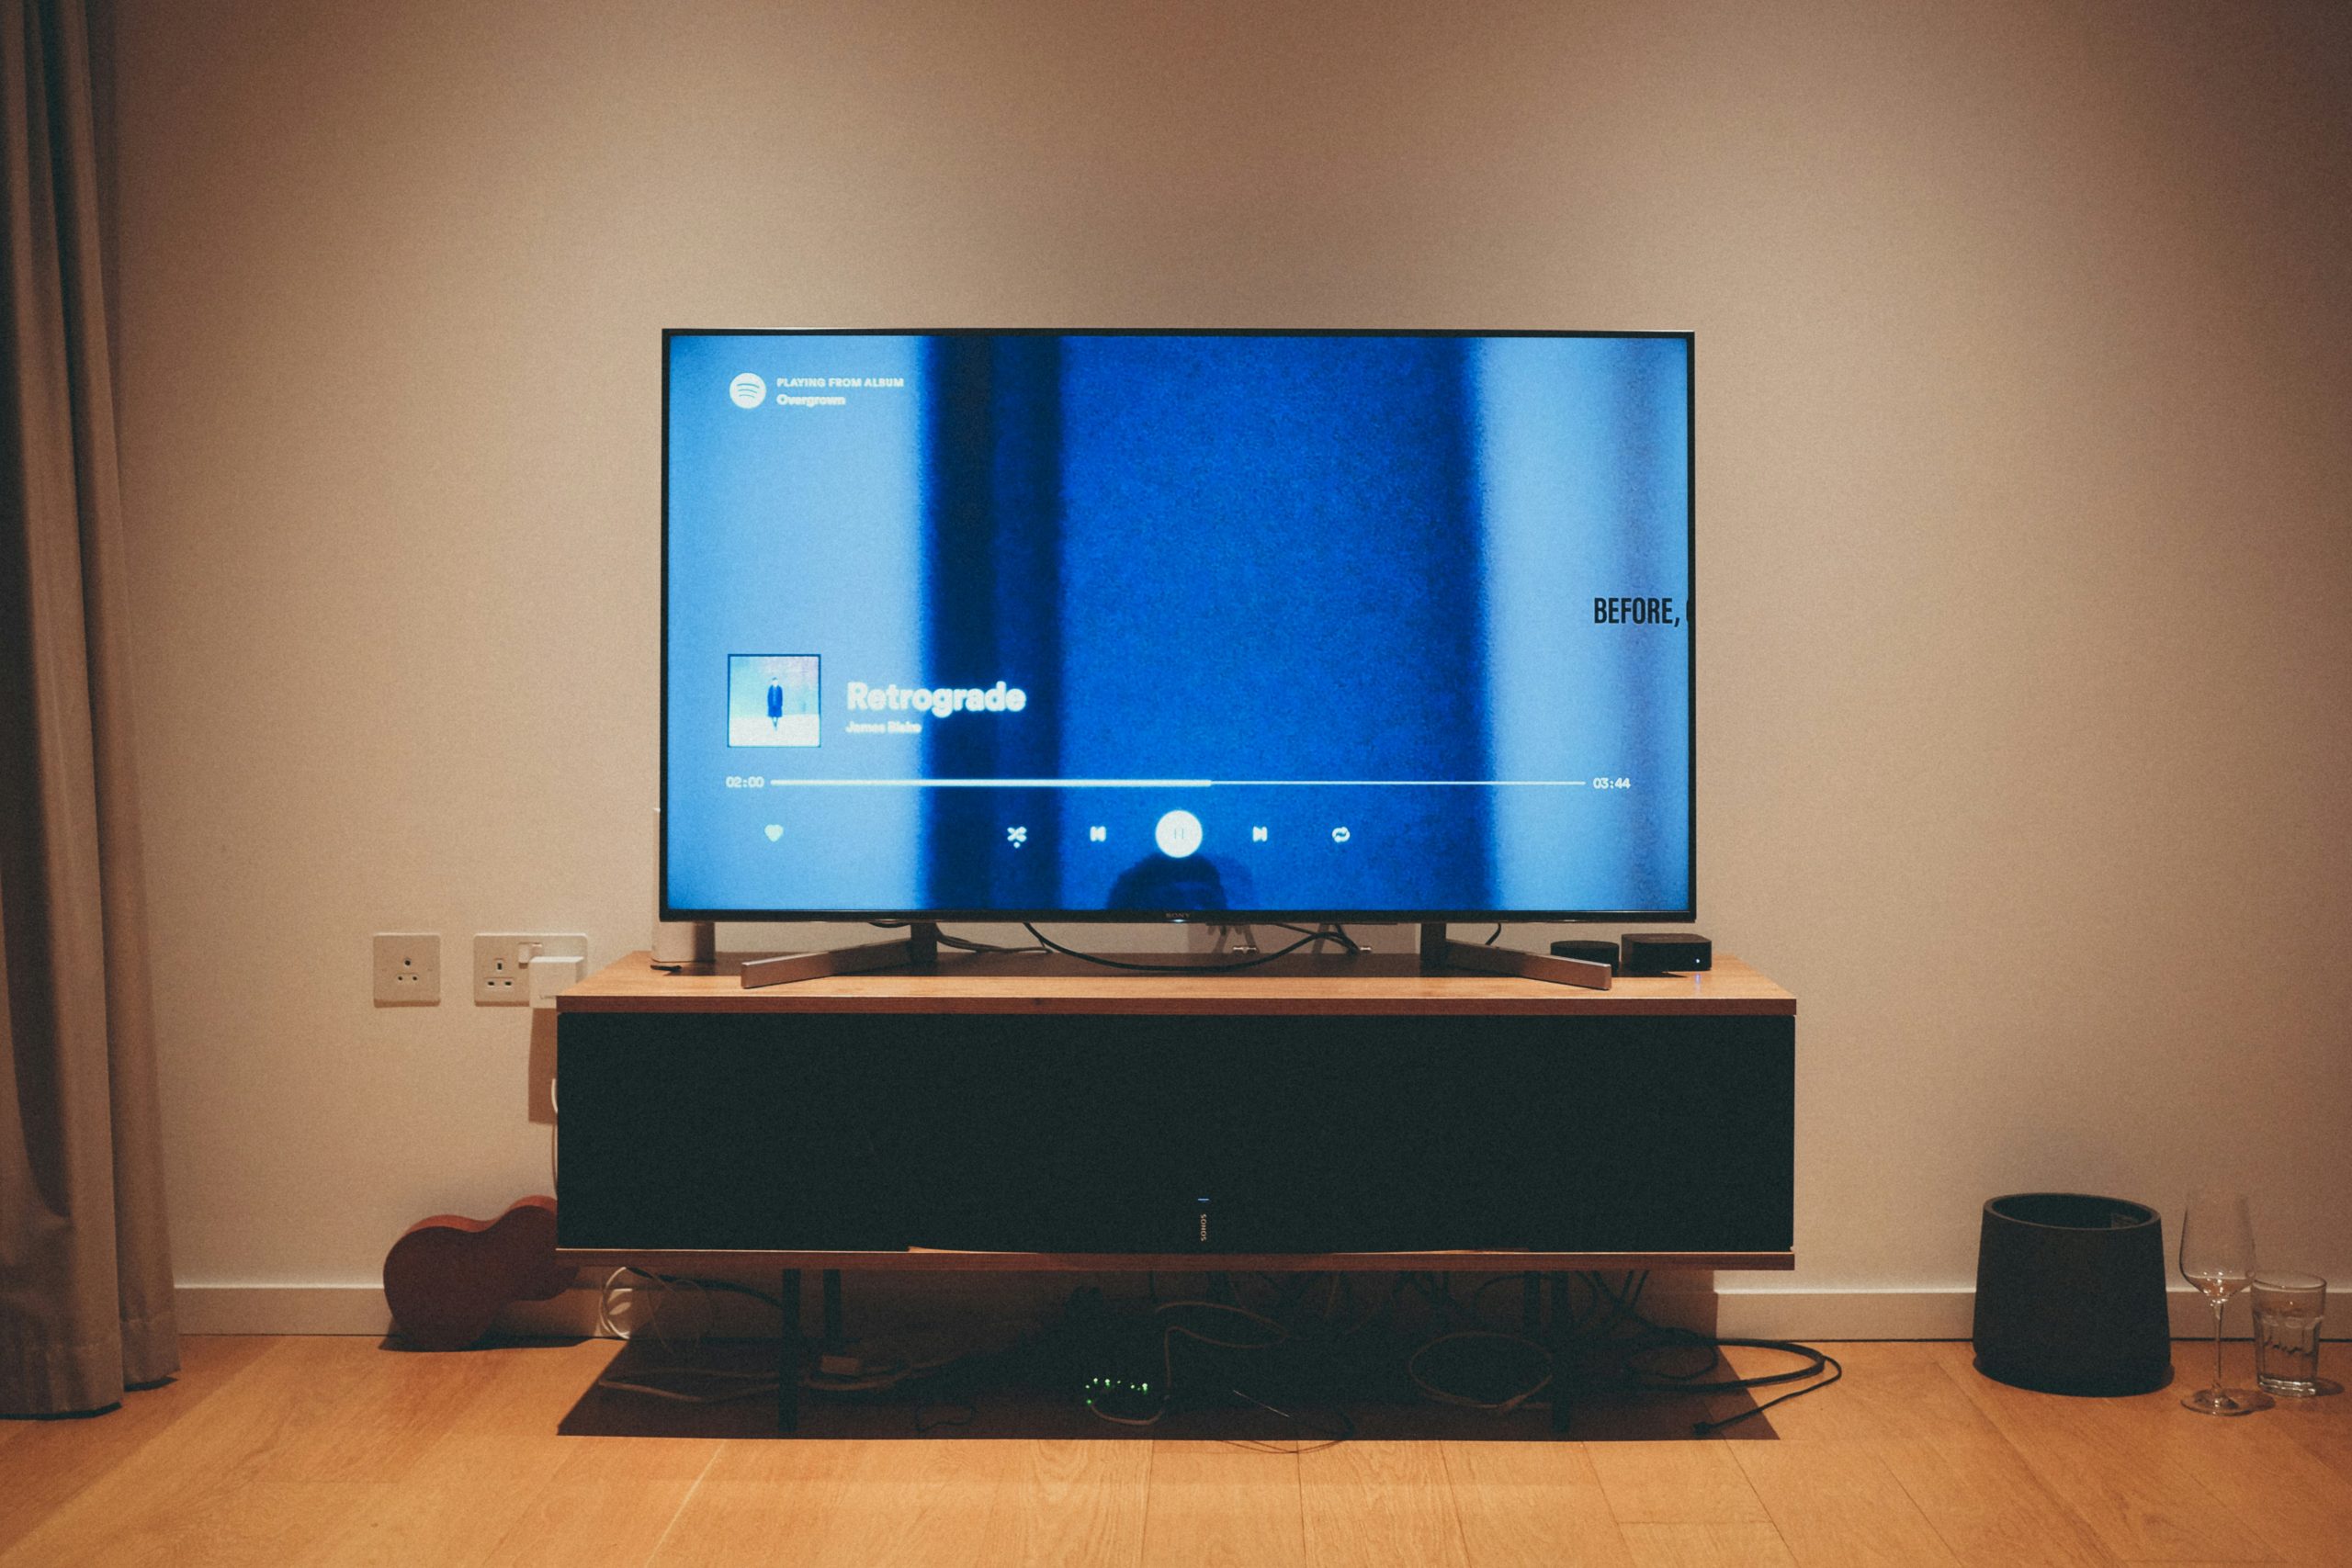
Bringing home a new smart TV is exciting—but before you can enjoy streaming your favorite shows or exploring new apps, you’ll need to set it up correctly. Whether it’s your first smart TV or an upgrade, this step-by-step guide walks you through the essentials to ensure a smooth setup, optimal performance, and access to all the features your TV offers.
If you’re located on the Sunshine Coast or surrounding areas, our TV setup and installation services at Jason’s TV can take care of the entire process for you.
Step 1: Unpack and Check the Box Contents
Before you get started, open the box carefully and check that all components are included:
- The smart TV itself
- Power cable
- Remote control and batteries
- Stand/base or wall mount hardware
- User manual and warranty info
Inspect the screen and frame for any damage before proceeding.
Step 2: Choose the Right Placement
Decide where you want to place your TV. Consider the following:
- Eye-level viewing: The center of the screen should align with your eye level when seated.
- Distance from the seating area: Depending on screen size, maintain a comfortable viewing distance.
- Lighting: Avoid placing the TV opposite bright windows to reduce glare.
- Wall mounting vs. stand: Wall mounting saves space and provides a clean look, while stands are easier for DIY setup.
For wall-mounting, professional installation is recommended to avoid mistakes and ensure safety.
Step 3: Connect to Power and Internet
Plug the TV into a surge-protected power outlet. Most smart TVs require a stable internet connection to access apps and updates. You have two options:
- Wi-Fi connection: Navigate to the settings menu and select your Wi-Fi network. Enter your password to connect.
- Ethernet cable: If you want a faster and more stable connection, connect an Ethernet cable from your router to your TV’s LAN port.
If you experience slow streaming, consider Wi-Fi signal boosting solutions or consult us for TV reception troubleshooting and connectivity support.
Step 4: Pair the Remote and Set Up the Basics
Most TVs will prompt you to pair the remote and select language, region, and time zone. Follow the on-screen prompts to complete this part.
Then:
- Accept the Terms and Conditions.
- Sign in or create an account with the TV brand (Samsung, LG, Sony, etc.).
- Enable automatic updates to keep your software and apps current.
Step 5: Connect Streaming Services and Apps
After connecting to the internet, your smart TV will allow you to install or sign into your favorite streaming platforms like:
- Netflix
- YouTube
- Disney+
- Prime Video
- Stan
- Freeview (for digital free-to-air TV)
Log in using your existing accounts, or create new ones directly from the TV.
Step 6: Tune Free-to-Air Channels (If Applicable)
To watch live TV, connect a digital antenna to your TV’s antenna input port.
- Go to your TV’s settings
- Choose “Channels” or “Broadcast”
- Select “Auto-tune” or “Scan for Channels”
This will help your TV pick up local digital stations. If you aren’t getting clear channels, contact us for TV antenna repair services or signal boosting solutions.
Step 7: Adjust Picture and Sound Settings
To get the best viewing and listening experience, fine-tune the settings:
- Picture mode: Choose from standard, cinema, dynamic, or custom.
- Brightness and contrast: Adjust based on your room’s lighting.
- Sound mode: Enhance clarity with preset options or connect external sound systems.
Many smart TVs also come with AI-enhanced modes that auto-adjust picture and sound.
Step 8: Connect External Devices
You may want to connect a game console, Blu-ray player, or soundbar:
- Use HDMI ports for video/audio connections.
- Use optical or Bluetooth connections for sound systems.
- Rename HDMI inputs for easy recognition.
Ensure all cables are securely connected and devices are powered on during setup.
Step 9: Enable Parental Controls (If Needed)
If children will be using the TV, consider setting up parental controls. These can restrict access to certain apps or channels and require a PIN to override.
This feature is usually found in “Settings” > “Security” or “Parental Controls.”
Step 10: Keep Your System Updated
Smart TVs often receive firmware updates to improve performance, fix bugs, and support new apps.
- Set updates to automatic
- Check for updates manually every few months
- Restart the TV occasionally for better performance
Need Help with Setup? Jason’s TV Has You Covered
If you’re unsure about anything during the setup process, or if you’d rather have professionals handle it from start to finish, our TV installation services on the Sunshine Coast can help.
We offer:
- Smart TV installation and setup
- Antenna connection and tuning
- Wi-Fi signal enhancement
- TV reception troubleshooting
- Custom wall mounting solutions
Contact Jason’s TV today for expert help and enjoy a seamless, high-quality viewing experience from the start.

