
If you’re planning a DIY TV installation at home, the first thing you need to know is which tools are essential. Many people start mounting their TV and realise halfway through that they’re missing something important. That’s why understanding the basics of TV mounting tools early on makes the entire process faster, safer, and much smoother. Whether you’re mounting a small TV in a bedroom or a large one in your living room, having the right equipment is the key to a clean, secure and professional-looking setup.
Mounting a TV isn’t complicated when you follow a step-by-step approach. What usually causes issues is using the wrong tool or skipping an important step. So, let’s go through every tool you’ll need and why each one matters.
1. Stud Finder (for Secure Mounting)
A stud finder is one of the most important tools you can have. TV mounts must be attached to wall studs, not just plasterboard, or your TV could fall. A stud finder helps you locate the strong timber framing behind your wall so the bracket has something solid to grip onto.
There are different types, some detect metal studs, others detect wood, and many detect electrical wiring too. This makes installation safer because you won’t accidentally drill into a live wire. The Australian Government’s general electrical safety guidance provides simple rules on safely drilling into walls, which you can keep in mind while working.
2. Electric Drill and the Right Drill Bits
Once you find the studs, you’ll need to pre-drill holes. That’s where an electric drill comes in. It makes the job much easier, especially if you’re installing a larger mount that requires several bolts. Make sure you use the right drill bit size based on the bolts included with your mount.
A cordless drill is usually easier because you can move around freely. If you’re new to drilling, start slowly to avoid damaging the wall. And always drill into the centre of the stud for maximum strength.
3. Screwdriver or Impact Driver
After drilling the holes, you’ll need to screw the bolts firmly into place. A manual screwdriver works, but an impact driver or electric screwdriver speeds up the process. These tools provide more torque, ensuring the mount is firmly attached and doesn’t loosen over time.
Many DIY installers make the mistake of under-tightening the bolts. This can make the bracket shift when the TV is placed on it. Using a proper screwdriver or driver prevents this problem.
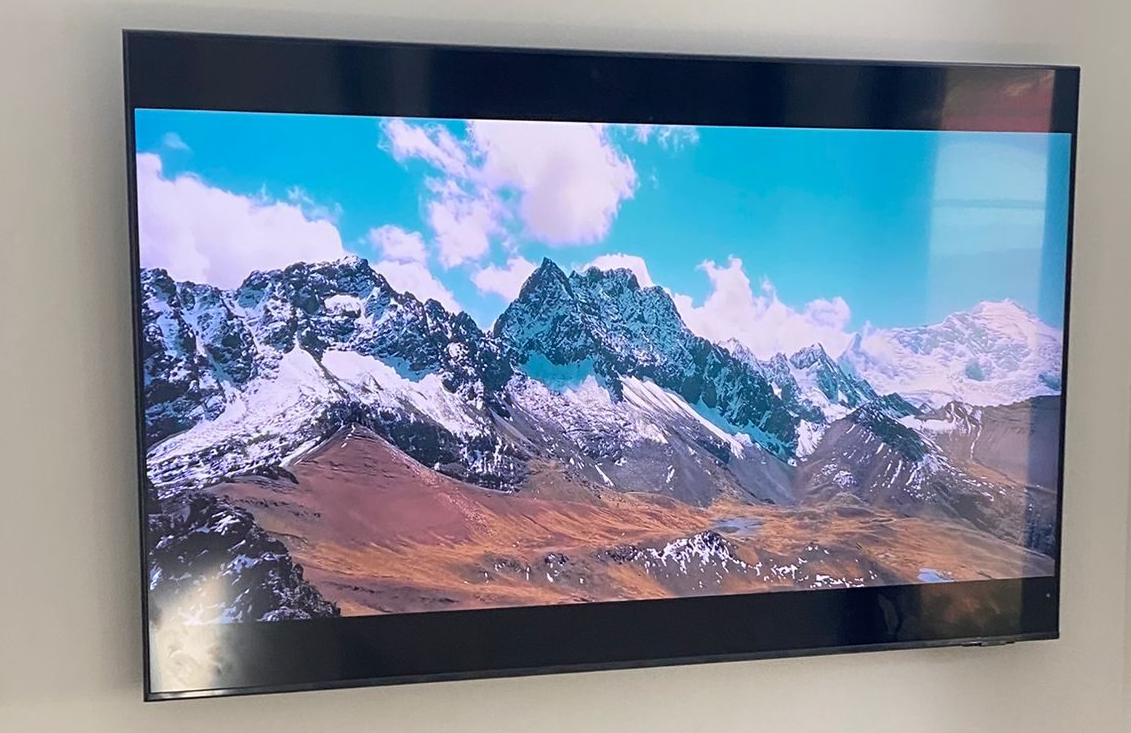
4. Level for a Straight TV
Nothing ruins a room’s look faster than a crooked TV. A basic bubble level is all you need to mount the bracket perfectly straight. Some modern mounting kits even come with small built-in levels, but a full-size one is more accurate.
A level can also help you mark out where the top and bottom of the mount will sit, ensuring both sides line up. This is especially helpful if you’re mounting very wide brackets.
5. Tape Measure for Accurate Positioning
Before drilling holes, measure everything twice. Your TV should be positioned at the right height and centred properly. A tape measure helps you calculate viewing height, distance from furniture, and spacing between studs.
The general rule is to mount the centre of your TV at eye level when sitting, but this can change depending on your seating area. Measuring accurately saves you from having to redo the installation later.
6. Pencil or Marker for Clean Marking
A pencil or marker helps you mark stud locations, drill points, and bracket alignment. This keeps your installation precise and prevents unnecessary holes in the wall. A pencil is the safest because it wipes off easily when you’re done.
7. TV Mounting Bracket (Compatible With Your TV)
Your bracket must match the VESA pattern (the hole spacing) on the back of your TV. Most modern TVs follow standard patterns, but double-check to make sure the bracket supports your model and size.
Also decide whether you want:
- Fixed mount
- Tilt mount
- Full-motion/articulating mount
Each type requires the same basic tools, but the installation steps differ slightly.
8. Optional: Cable Management Tools
If you want a clean look, use cable clips, raceways, or in-wall cable kits to hide your wiring. This keeps your setup neat and prevents cable strain.
ABC News recently discussed how messy or tangled cables can contribute to overheating of electronics, which is another good reason to keep things tidy.
When to Call a Professional
Mounting a TV yourself is definitely possible, but if you’re unsure about drilling, locating studs, or handling large screens, you can always bring in a technician. A poorly installed TV can fall, damage walls, or void warranties. For households needing a safe, smooth, and professional installation, Jason’s TV can assist with expert mounting and full cable-management solutions.